Gumtree recently asked if I would do a guest blog on an upcycling project and I gladly accepted. It gave me just the motivation I needed to get around to upcycling an old set of drawers I had on my ‘To do’ list.
The concise blog is on the Gumtree website and below is the full version which includes all the waffle!
Enjoy!

Ooooh, I do love a bit of upcycling, in fact I’m sure it’s in my blood. I’m the one that goes to the tip with an empty car and returns home with it full of other people’s junk yet after a bit of titivating and a bit of TLC, it becomes my treasure!
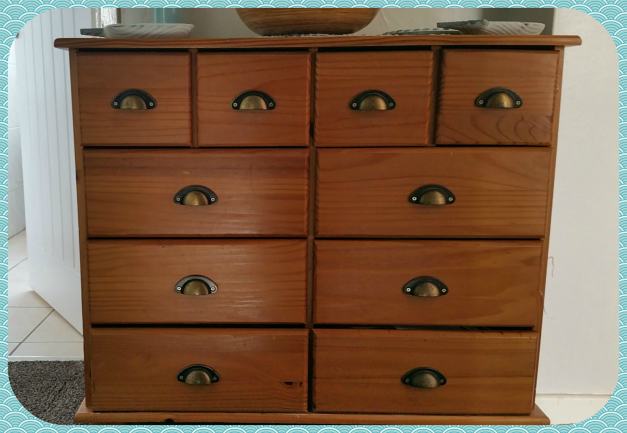
When I moved into my house, the previous owners left a chest of drawers in one of the bedrooms. Being varnished pine it wasn’t to my taste. It was dated and had quite a few scratches and marks but it fitted perfectly on the landing and what’s more it was full of useful drawers to store all the stuff I accumulate from not being able to throw things out (I think the official term is ‘hoarder’!). I knew I could let my creative streak loose on it to breathe new life into it and bring it up to date!
Most the time when I upcycle I can visualise how I want something to look but this time I had an array of changing ideas of what I could do with it. A big factor for me is doing it low cost. It’s all very well thinking you are saving money by picking up something cheap or even free (have you checked out Gumtrees freebie section?) to makeover but with the trend of ‘upcycling’, the DIY stores have jumped on it and market high priced products to convince you with their clever marketing that you need that product and before you know it you’re spending a fortune on doing it up. I however generally find cheap alternatives.
I had intended to use my homemade chalk paint (old emulsion or tester pots are good mixed with some plaster of Paris and water) that is a fraction of the cost of chalk paint and in my eyes just as effective, however after seeing the Alfreshco stand at the Grand Designs Show I was so impressed I had to experiment with their spray paint intended for graffiti artists! And what’s more, their prices are brilliant with a 300ml spray can starting at £3 and a range of over 180 colours – a lot of which are currently on trend and not the garish colours you would expect from graffiti spray paint…AND…they have some special effect one’s such as crackle, marble and texture.
Now I don’t know about you but I am a bit partial to the old crackle look, it’s a great way of making something look vintage and distressed, another look I love and on trend at the moment, so I decide crackle is the way forward. I’ve also recently got into grey and it’s many tones! It seems grey is the ‘in’ colour. Who would have thought that grey, the colour associated with being boring would be so popular – I wonder if EL James is to blame with her 50 Shades trilogy!
Anyway I have a bit of a plan, crackle paint, grey and I also have some Martha Stewart screen silks that I recently purchased for Crafty Monkey, my pottery painting studio, so thought I’d give them a swirl on furniture!
So a long story short, this project, like a lot of my projects, was a bit of experimentation, and here’s what I created:
Below are the steps I took:
1) Due to using spray paint I decided to complete this project outside so pick a good day where no rain is forecast and little to no breeze! Cover the area in decorating sheets or tarpaulin. Spray paint travels – the bigger the breeze the further it travels.
2) Remove drawers and handles, my friend Bosch helped me! And who knows you may find something you didn’t expect – I did – someone’s lingerie! Don’t worry I’ll find a use for that!
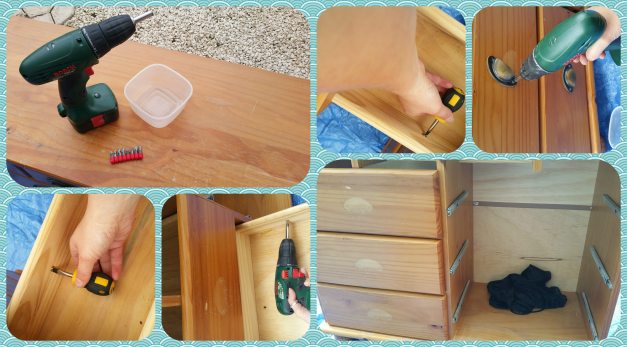
3) Preparation is key and a good sand down will always create a better result. I got to try out my new sander which really is a great investment and will save you so much time and energy! A grit of 80 is probably optimum but I used a 60 then a 120. After sanding I wiped the dust left with the lingerie then used a jay cloth and white spirit and gave it a good wipe all over. Don’t forget your protection mask too!
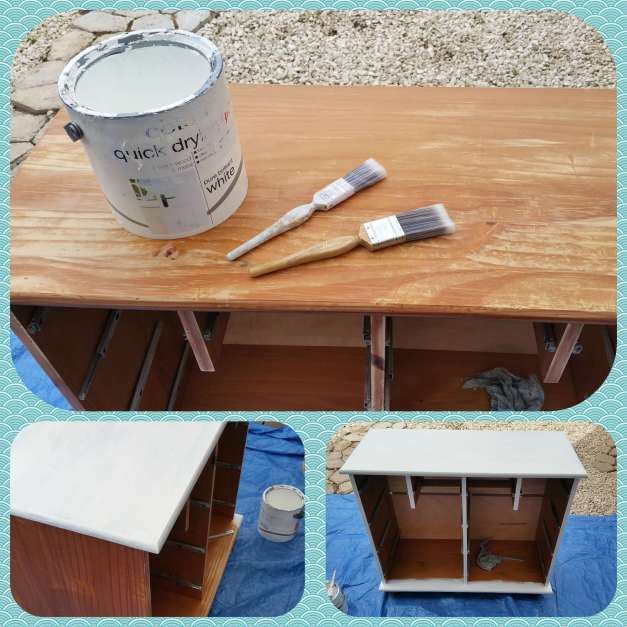
4) The plan was to use the graffiti paint to spray a base layer of white but I was so excited by the visit to Alfreshco that I forgot the white! Being impatient I wanted to get started NOW so I used a bit of old quick drying paint for wood that I took from the tip on my last visit! It was quite thick and a bit lumpy but because it’s a base coat and I want to create a distressed look I wasn’t too concerned. I paint two coats on and wait 45 mins or so for it to dry.
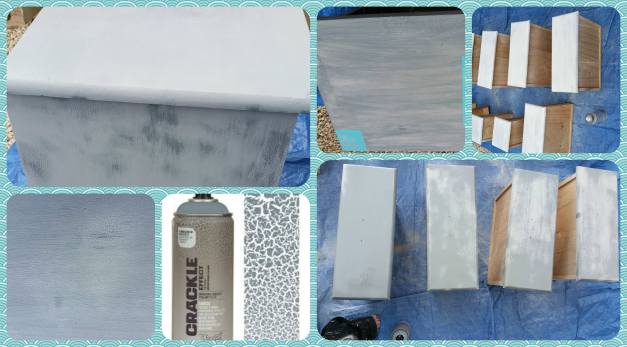
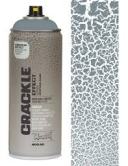 5) Next, I spray Montanta Crackle, Grey Squirrel colour in a sweeping motion over the piece and wait for the magic to take place… and wait….ummm…while a bit of cracking did occur it seems you need an oil based undercoat for optimum results. Instead, after drying a couple of hours, I decided to give it a light sand, dusted it down then used white spirit on a cloth and wiped it in the direction of the grain and hey presto got a great distressed effect.
6) For the drawers however I went out and got some white spray paint intended for wood and the crackle worked a treat! I must say though that the Montana spray seems much better quality than the more expensive one I got from my local DIY chain. The fun part is next…watch your furniture crackle! The more paint you spray on the bigger the crackle!
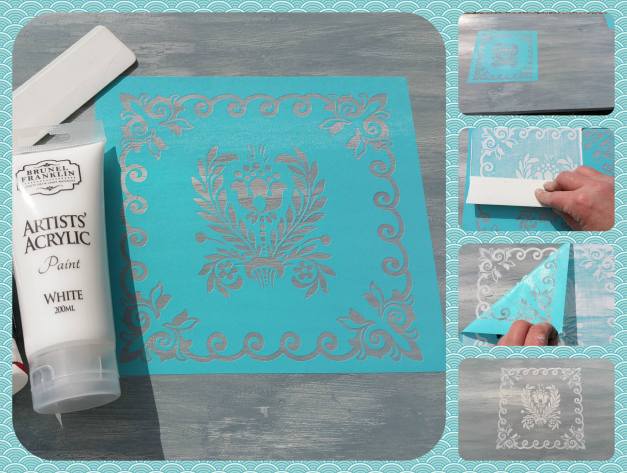
7) I decided to use one of my Martha Stewart screen silks for the top of the piece to give it a bit of character – stencilling takes me back to the 80’s but it seems to be having a bit of a resurgence. I use some white acrylic paint I had knocking around and an old ruler to push the paint into the stencil.
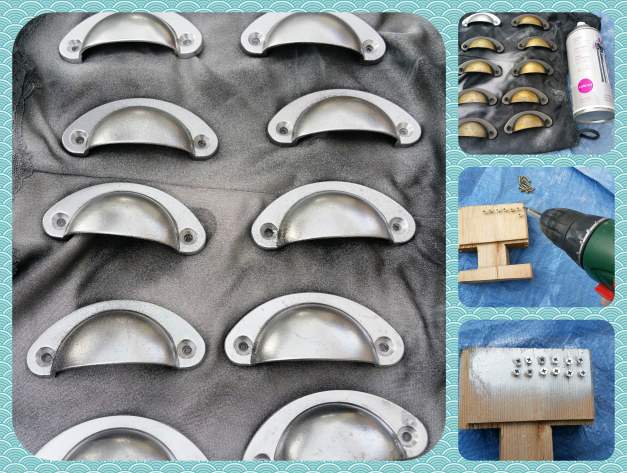
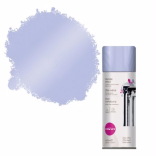 8) Houston, we have a problem! The handles are a gold antique colour which is not the best match for grey but don’t despair as I found this great spray in my local B&Q and one blast instantly transforms them into chrome coloured handles, I even screw all the screws into an old bit of wood and give them a spray up to! (Notice the use of the lingerie again!).
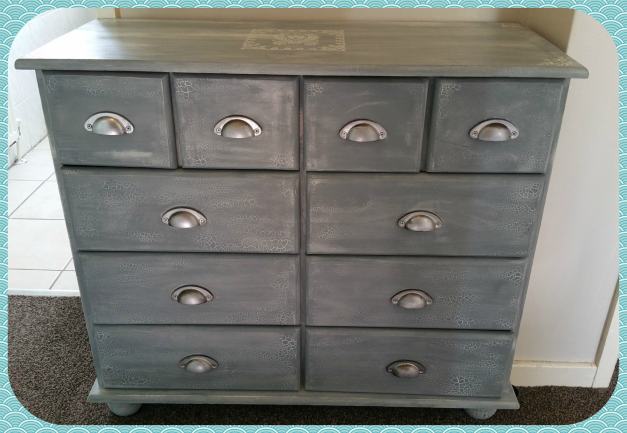
9) Now the piece just needs a couple of coats of varnish or furniture wax to protect it. I opt for wax as I prefer the finish. The wax will darken the colour – see the top far left drawer.
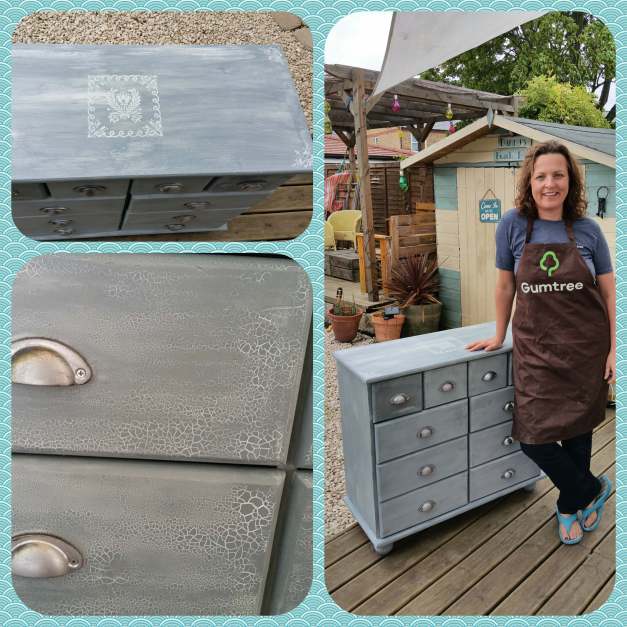
10) and…voila!
Subscribe to my blog to be updated with future tinkering projects!